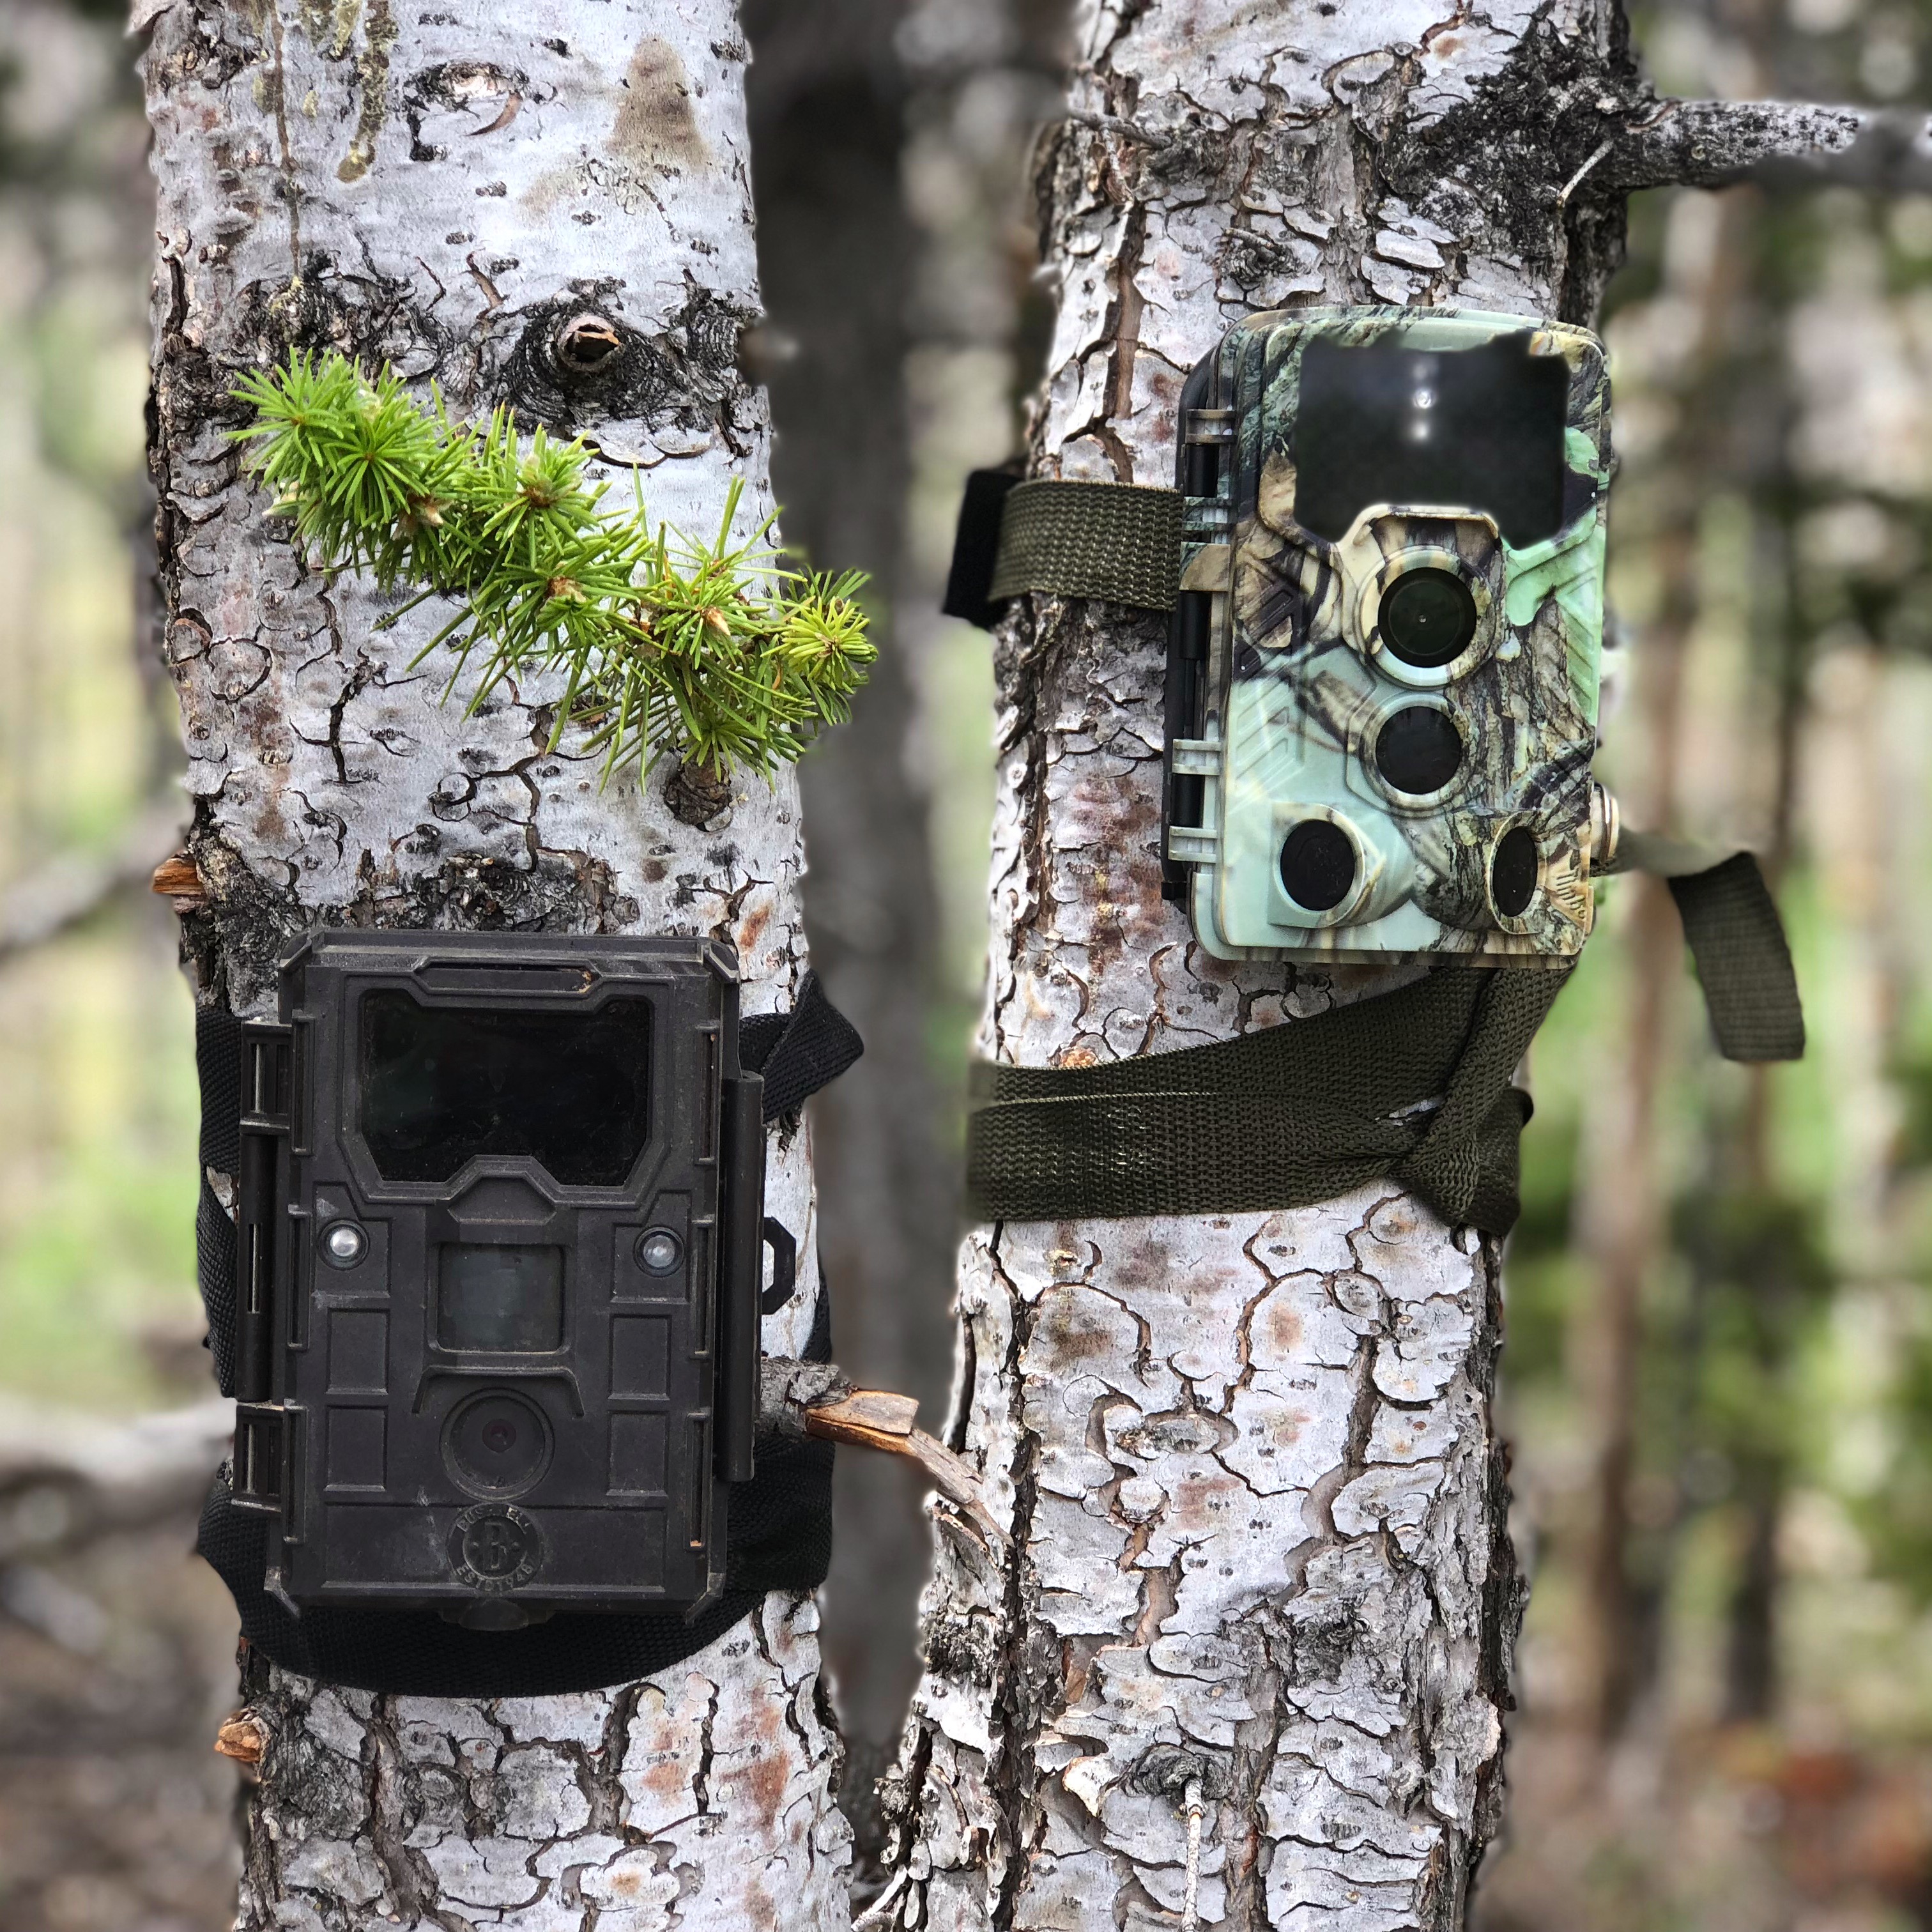
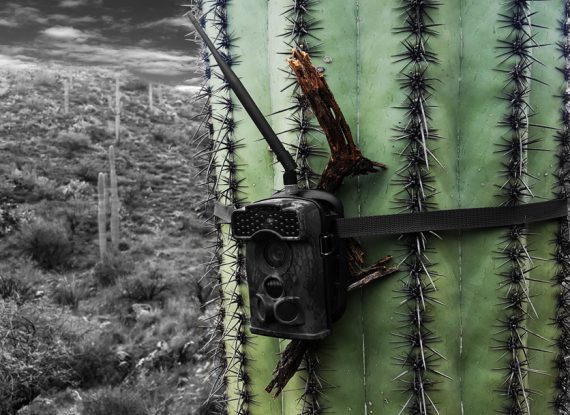
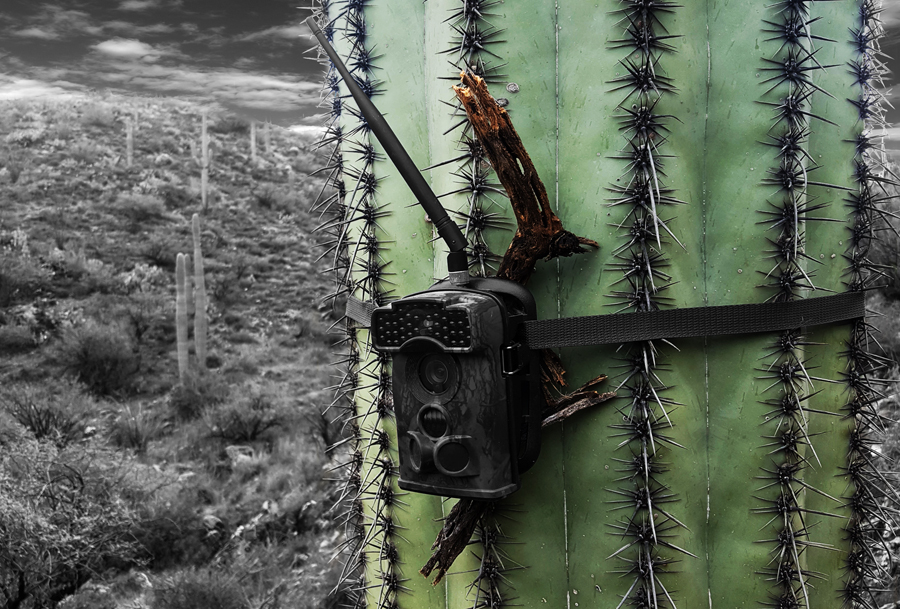
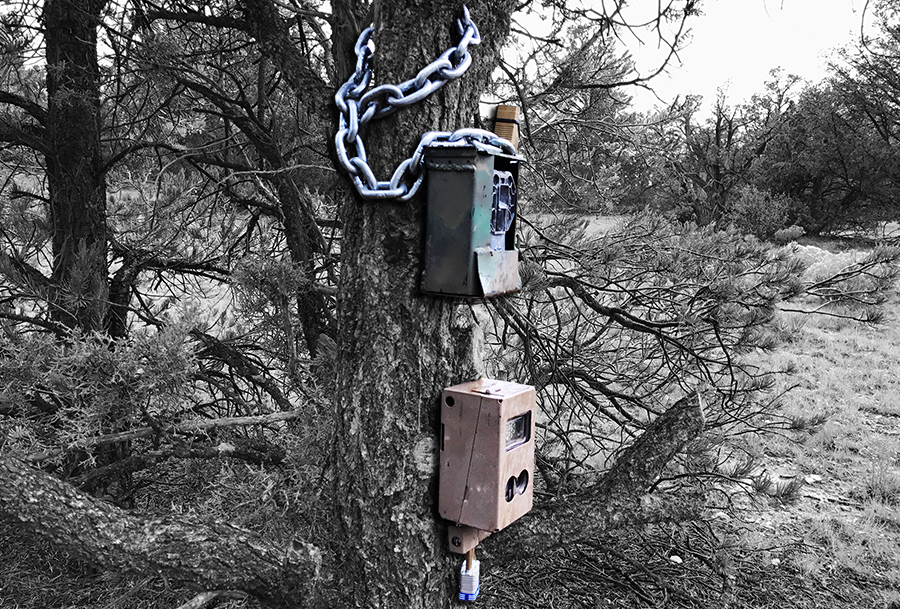
There are several important factors to consider when placing your trail cameras, and the first one isn’t glamorous—it’s reality. How much did the camera cost, and can you afford to have it stolen, especially on public land? Unfortunately, theft does happen, and it’s something every hunter needs to factor into placement decisions. Highly visible water sources can be magnets not only for wildlife, but for other hunters. If theft is a concern, positioning your camera 40–50 yards off the main water source along a well-used trail is often a smarter option. You’ll still capture movement patterns while reducing the chances of someone spotting your setup.
The most common locations for trail cameras are water sources—tanks, drinkers, springs, and ponds—particularly during dry years. Concentrated water creates concentrated movement. In arid country, that can mean consistent daylight activity and valuable inventory information. However, don’t overlook local regulations. In some states, baiting or mineral placement for big game is legal, and if you’re fortunate enough to hunt in one of those areas, a well-placed mineral lick can provide excellent camera opportunities. Always check state laws before deploying minerals or attractants.
Beyond water and bait, natural sign can be even more rewarding. Finding active elk wallows, heavily worked rub lines, or fresh scrapes from dominant deer is like striking gold. These locations don’t just confirm presence—they reveal behavior. Capturing a mature bull tearing up a wallow or a dominant buck checking a scrape line can provide insight into timing, hierarchy, and travel direction. Those are the kinds of images that move beyond simple inventory and begin telling a story about the animal.
In flatter, more open country, placing cameras for pronghorn can be more challenging. With fewer trees and natural funnels, options are limited. One of the most effective strategies is setting cameras along fence lines where antelope routinely crawl underneath. These crossings become predictable choke points. Not only does this help confirm herd movement and buck presence, but it also creates dynamic photo and video angles you simply won’t get in open prairie.
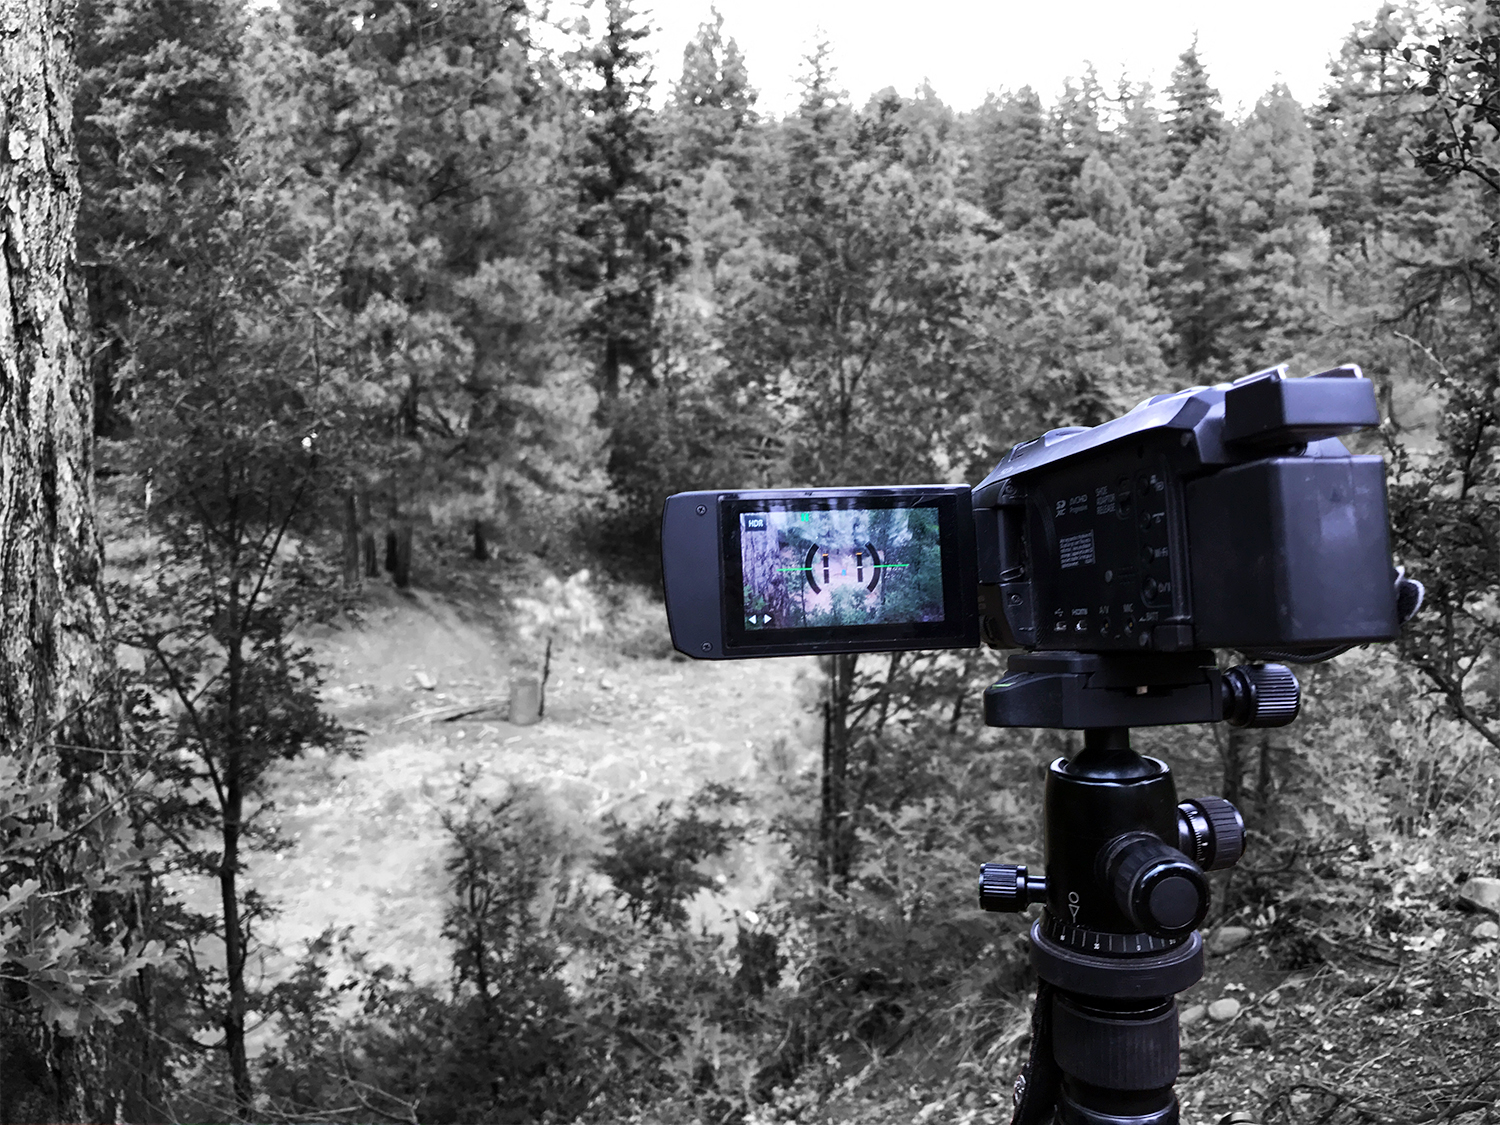
Regardless of location, the most critical element of trail camera placement is proper mounting height and angle. Setting your camera too high or too low leads to empty frames, clipped antlers, or countless belly shots. Match the height to the species you’re targeting. In areas with multiple species of varying sizes, it’s often best to position the camera slightly farther back from the focal point. This widens the field of view and increases your odds of capturing usable, informative footage rather than partial images.
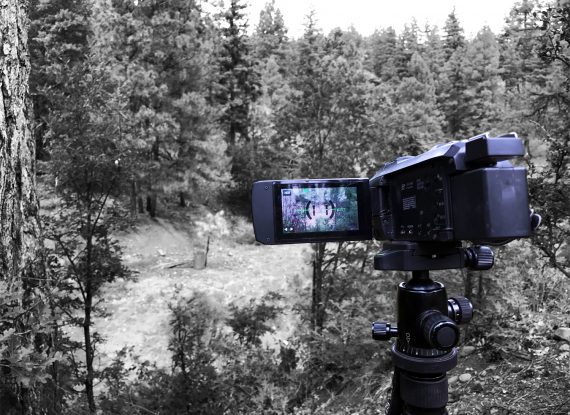
Trail cameras are more than scouting tools—they’re information gatherers. Thoughtful placement, attention to detail, and an understanding of animal behavior will dramatically increase the value of every card pull.

